Project progress
Software, automating the process of reverse engineering and generation of measurement programs for non-contact geometry control systems, produced by “SPAN SCAN” LLC, has been developed within the framework of R&D with the support of FGBU “Foundation for Assistance to Small Innovative Enterprises” under the federal program “Start-1” (http://www.fasie.ru/).
In the course of R&D within the framework of the START 1 program, functions of CMM type measuring systems control were implemented to create a prototype of the non-contact 3D scanning software module for complex parts. This was done using the universal DME coordinate control protocol, which was used to create the control, motion and condition monitoring functions for the equipment and sensor. As a result, the positioning system moves at speeds of up to 300mm/s and is controlled in real time.
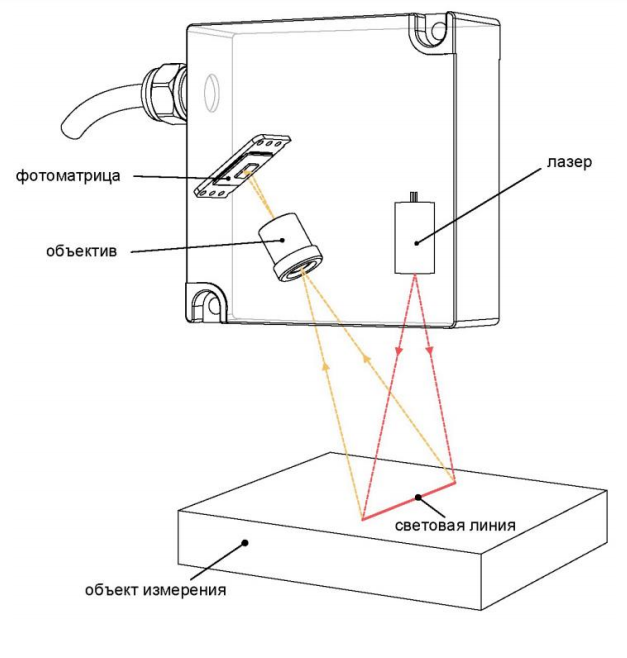
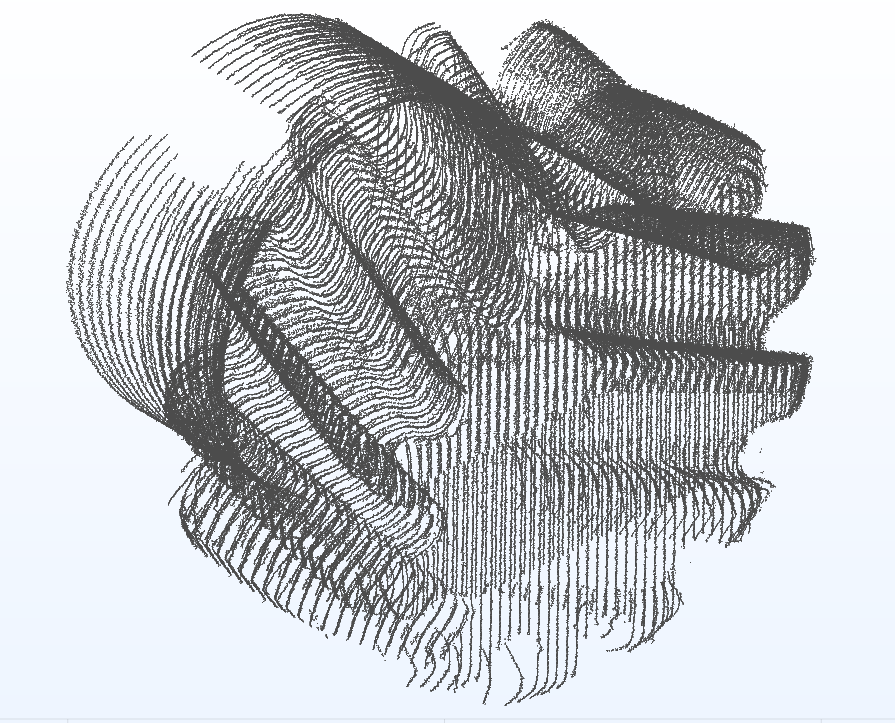
Sensor control functions have been implemented. For this purpose, protocols for polling equipment and sending UDP and TCP/IP tasks have been implemented. The functions implement data acquisition from the scanner, control of scanning and data processing parameters, as well as sensor status monitoring. As a result, the speed of data acquisition from the scanner is up to 100,000 points/sec. In order to check the operability of protocol implementation, details are scanned by different sensors.
An interface has been developed to work with the point cloud from the CMM and sensor system to visualise the point cloud and its individual parts, highlight points and change viewpoints in 3D.
There is also a measurement system calibration procedure that allows coordinate systems from the sensors and CMM to be combined by scanning the sphere from different sides and then recalculating the coordinates using the algorithms created. A special interface has been created for calibration, allowing you to assess measurement quality at the data acquisition stage and save and open previously created calibration files.

To test the prototype of the software module of non-contact three-dimensional scanning of complex parts, as well as to refine it based on the test results, a testing method was developed. It described how to test the functions of measuring system control and sensor control. In addition, the calibration technique was verified. The rules of acceptance and processing of results were also reflected in it.
During the tests, the software for verification of the calibration function was modified. For a complete experiment, it was necessary to create functions for calculating errors and deviations, as well as for dividing point clouds into areas for selecting representative points.
All tests according to the protocol were conducted. In the course of them, it was found out that all functions of the module work according to the requirements of the task.
For creation of a prototype of the program module of selection of geometrical primitive things from the scanned three-dimensional map of a detail software tools of selection of clouds of points, creation on clouds and the primitive things of geometrical primitive things both volume, and on a plane have been realised, and also tools of formation of these primitive things have been created. As a result for work with 3D point clouds tools for drawing of a point, line, plane, sphere, cylinder, cone have been created. For work with sections in a plane tools for drawing of a point, a line, a circle have been created. Tools for drawing geometrical primitive things on available primitive things are created: the point of intersection of two lines. For sections also tools of drawing of the sizes are realised. For work with primitive things it is created their tree for a cloud of points on which they are allocated. As an example of work with the module and the object of testing it was used a cloud of points from the socket.
To test a prototype of a software module, as well as to refine it by the results of tests, a testing methodology was developed. The methods of testing tools for working with geometrical primitives were described in it.
In the course of reworking, a tool for setting a standard selection window was added. As a result, the obtained deviations from the tolerances for all parameters meet the established requirements, which confirms the performance of the module.
An application for software rights registration for SPAN SCAN Classic Kit №EA-25618 has been submitted.
In the course of the project, the intellectual property rights for the software “Software for detecting defects on the surface of solid objects by analyzing images and data from optical laser scanners. ” will be protected. The software will also be registered in the Russian software registry.
